So.. it's been a long time. This blog post is actually inspired by/because I got assigned a person who likes Harry Potter for a Secret Santa, and this is what I came up with by way of gifts for that. Granted, the Secret Santa was a week and a half ago, but still. At least this is still the same month, no?


To start with, I did make the wand, but I forgot to take pictures, so I'll just describe the process to you- I first cut a dowel rod to the length that I wanted. In this case it was about 11 inches. I then measured the size of my hand/gripped fist around the base of the wand (about 3 and a half inches), and decorated that portion with hot glue. Lots of hot glue. I put a rather large blob on the bottom of it, and a ring around the top, then just did whatever I felt like for the rest. No rules here, let your imagination run wild! The next thing I did was use a razor lade to carve down the rest o the wand to a point. This shouldn't be a sharp point, and you don't necessarily want the wand to be smooth. Imperfections give it character.
Lastly, I painted the wand brown. Brown was just what I chose- they could be any color, including black, white, gold, brown with gold, or etc. The hot glue will take a few coats, and getting into all of those little cracks is obnoxious, but the end result is worth it.
To make the box, there is a simple formula that will result in a rather nice box. Unfortunately for those used to SAE units, you'll be using centimeters for this. For the rest of the world, happy birthday.
The base box (that the wand will go into) should be [9cm + the length of you wand] long by 13cm wide.
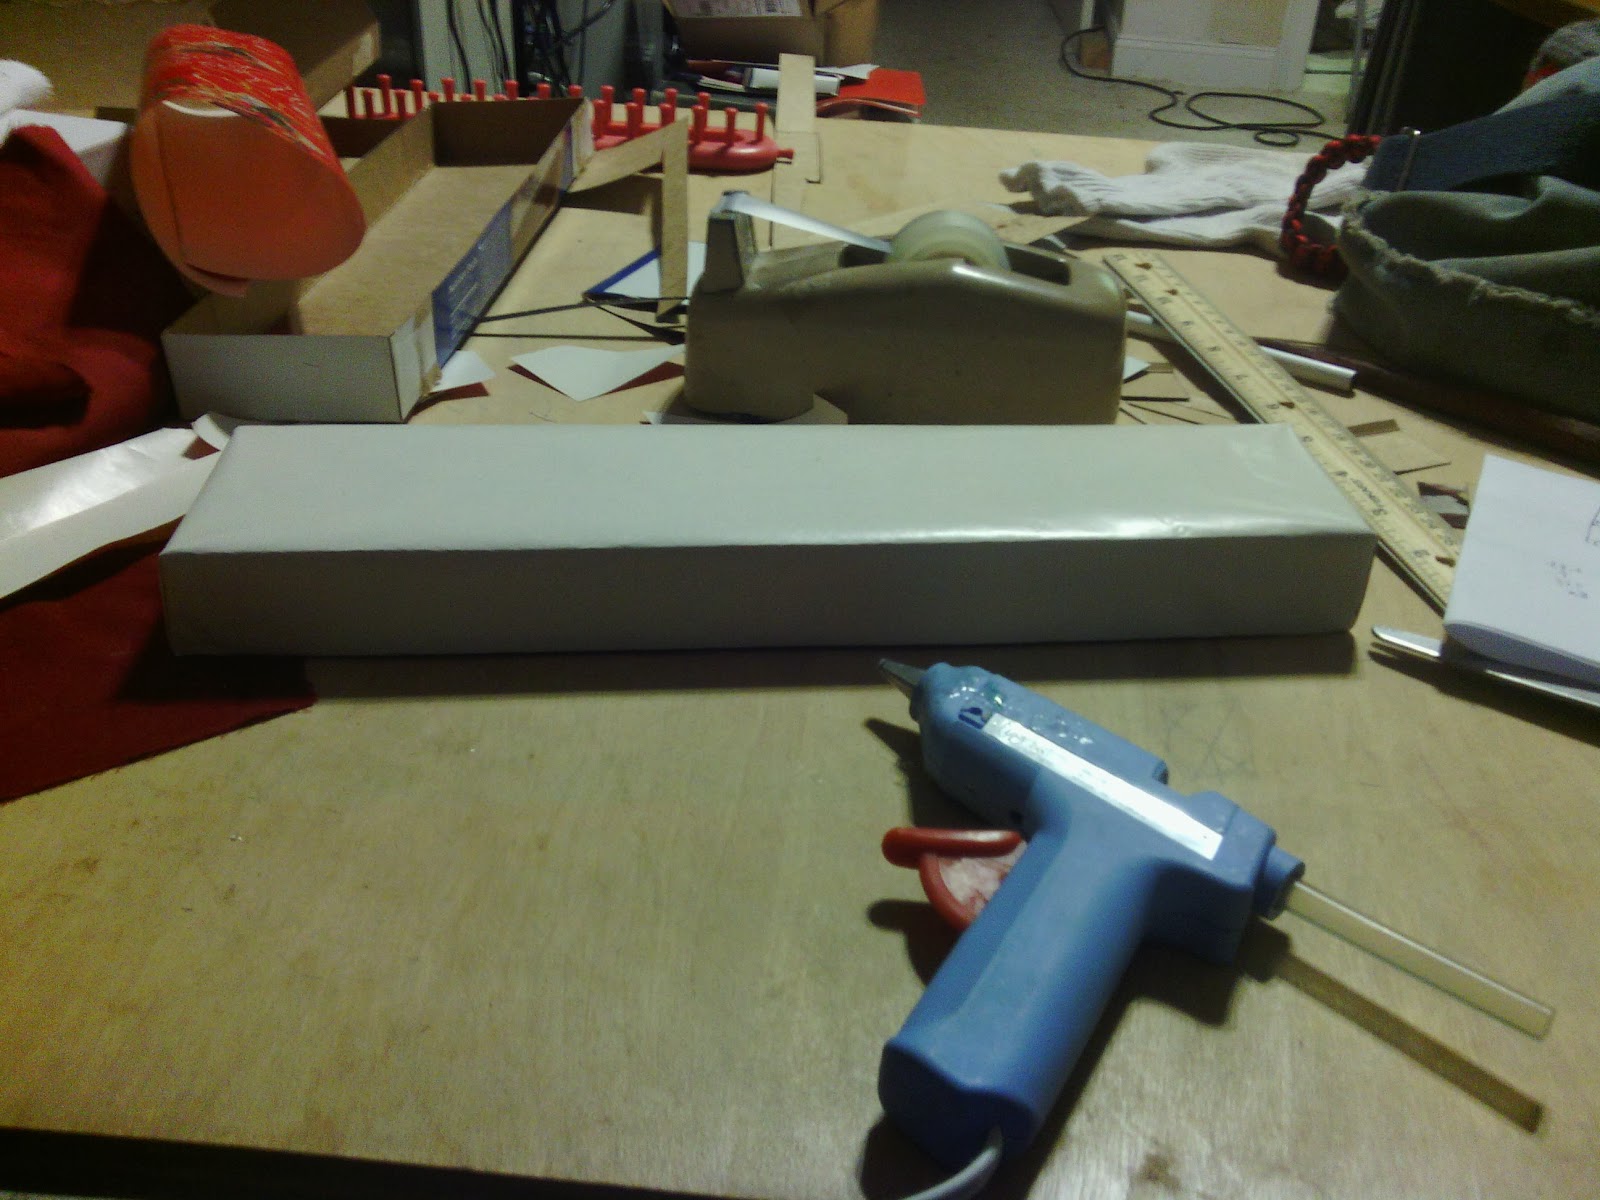
the box lid should have the same dimensions, plus 4x the width of whatever cardboard you're using. Consult the image for details.
Once you have traced and cut out your box rectangles, trace an inner rectangle into each one that is 3cm in from each edge. You'll need to cut out the corner squares, then fold up along the lines you have traced. You can then glue it together with hot glue. Hot glue has many uses, and is really nice for this. My suggestion to you would be to tape the corners together, then reinforce them with hot glue.
Once you have both boxes made, nest them inside of each other to see how they fit.
I used an old pie box for my cardboard. If I did it again, I'd probably make my lid a bit tighter. It was fine, but it was a bit loose, and I wished it was just the tiniest bit smaller. This is your chance to fix that.
At this point, you have a fully functional wand box, but it isn't super pretty, so it's time to decorate it. A quick google search will yield a great variety of decoration ideas. One that I really liked was a more textured box using wallpaper. I didn't have any, though, so I used wrapping paper that was plain white on the back. The biggest thing is that you don't want to have to use more than one piece of paper.
Start by wrapping your box (I only show one half done here, but you just repeat the steps for the other half, and your box will be done). The piece of paper you use should be about 2-3 inches too long on every side. Wrap it long ways first, and crease it at the corners of the box. In order to prevent ugly tape stuff going everywhere, hot glue the bottom of your box to the paper at this point, and put some along the sides, too, for good measure. Make sure you smooth out the glue, though.
You should end up with a long open tube of paper. To wrap the ends, cut the corners like so.
Then, when all four corners have been cut, wrap in the one side, crease it, then hot glue it down. Trim any excess, but overlap onto the ends isn't terrible. Repeat, so that both long ends are complete.
For the long ends, a bit more work is required. Start by making the paper look rectangular. Experiment with any folding methods you like, like wrapping a present, but this is how I did it.
I put a drop of hot glue in each of those openings, then tightly pressed it, folded and creased, then hot glued it. I then repeated this on the other side.
You really want this to be tight, so that you get a nice, professional-looking box.
And this is your box!
Now, to finish up with details.
The base of the box should be lined with fabric for the wand to sit in. Traditionally (I assume), this fabric would be velvet, but any fabric should do.
Here, I had some red, flowy fabric that I wanted to use. Unfortunately, I didn't quite have nough of it- you need enough to line the box, so it has to be at least 2 or 3 inches larger in every direction than your box. Mine was only about 1 in every direction.
Start by folding the fabric over, then hot gluing the fabric down. The folded-over edge will make it look like you sewed it in, and will make it look professional. If, like me, you didn't quite use enough cloth, you can wad up some extra fabric at the bottom of your box for added volume.
Then, repeat the process on the other side. Remember, the folded-over part should be about half an inch, and you want a nice hollow for the wand to rest in.
Once the two sides are done, you can either tuck the ends in and leave them, or you can glue those in. Those will be harder, but gluing them will be well worth the effort to look like an authentic wand box.
At this point, it would be a good idea to put the wand in and make sure it will fit. As you can see, my ends weren't perfect, but they look pretty nice, and no one will look at that box and have the first thing that pops into their minds be the imperfect end.
When you top the box, your wand should be far enough down to allow the lid to completely cover the bottom, like it did before. If not, you'll have to fix that somehow.
At this point, your box is done, but for ease of opening, I would suggest using scissors or a razor blade to cut little box-handles into the bottom center edge of each side of the box, to aid in the removal of the lid.
Also, final embellishments of wand numbers, sizes, and Ollivander's brand logos are available online, and you should use them to finish off your box. These took me quite a while to find and re-size, and by the time they were done, I forgot to take a picture, so that's all, folks! Hope you enjoyed it!


No comments:
Post a Comment