*Note: This was SUPPOSED to be put up the Wednesday before Thanksgiving, but due to unfortunate tech errors (pictures not uploading), it has had to be postponed until now. Sorry*
So.... for those of you who haven't been here for a Thanksgiving before.. I make pie. Lots of pie. I love pie, and it loves me. Our family has, for the last 4 years, made so much pie that we've had to have a Pie Day the weekend after Thanksgiving. This year, I took it to a whole new level and decided to sell pie... and I figured I'd share some of the pics that I took of those pies.
I'm sure you've seen this one before.. it's the White Pumpkin Pie that I
have on another post.. I think... or maybe that was Facebook. Either
way, this pie I hand-mashed the pumpkin for.. and it was SO amazing. I'd
even recommend trying to make it yourself except that draining pumpkin
takes FOREVER. It's worth it, though.
*ABOVE* This is a frozen White Pumpkin pie. (before being baked.. didn't want
them to get soggy, since I made these almost a week ahead of time)
*SIDE* This is a frozen Pumpkin Pie (normal, canned puree and etc. still awesome)
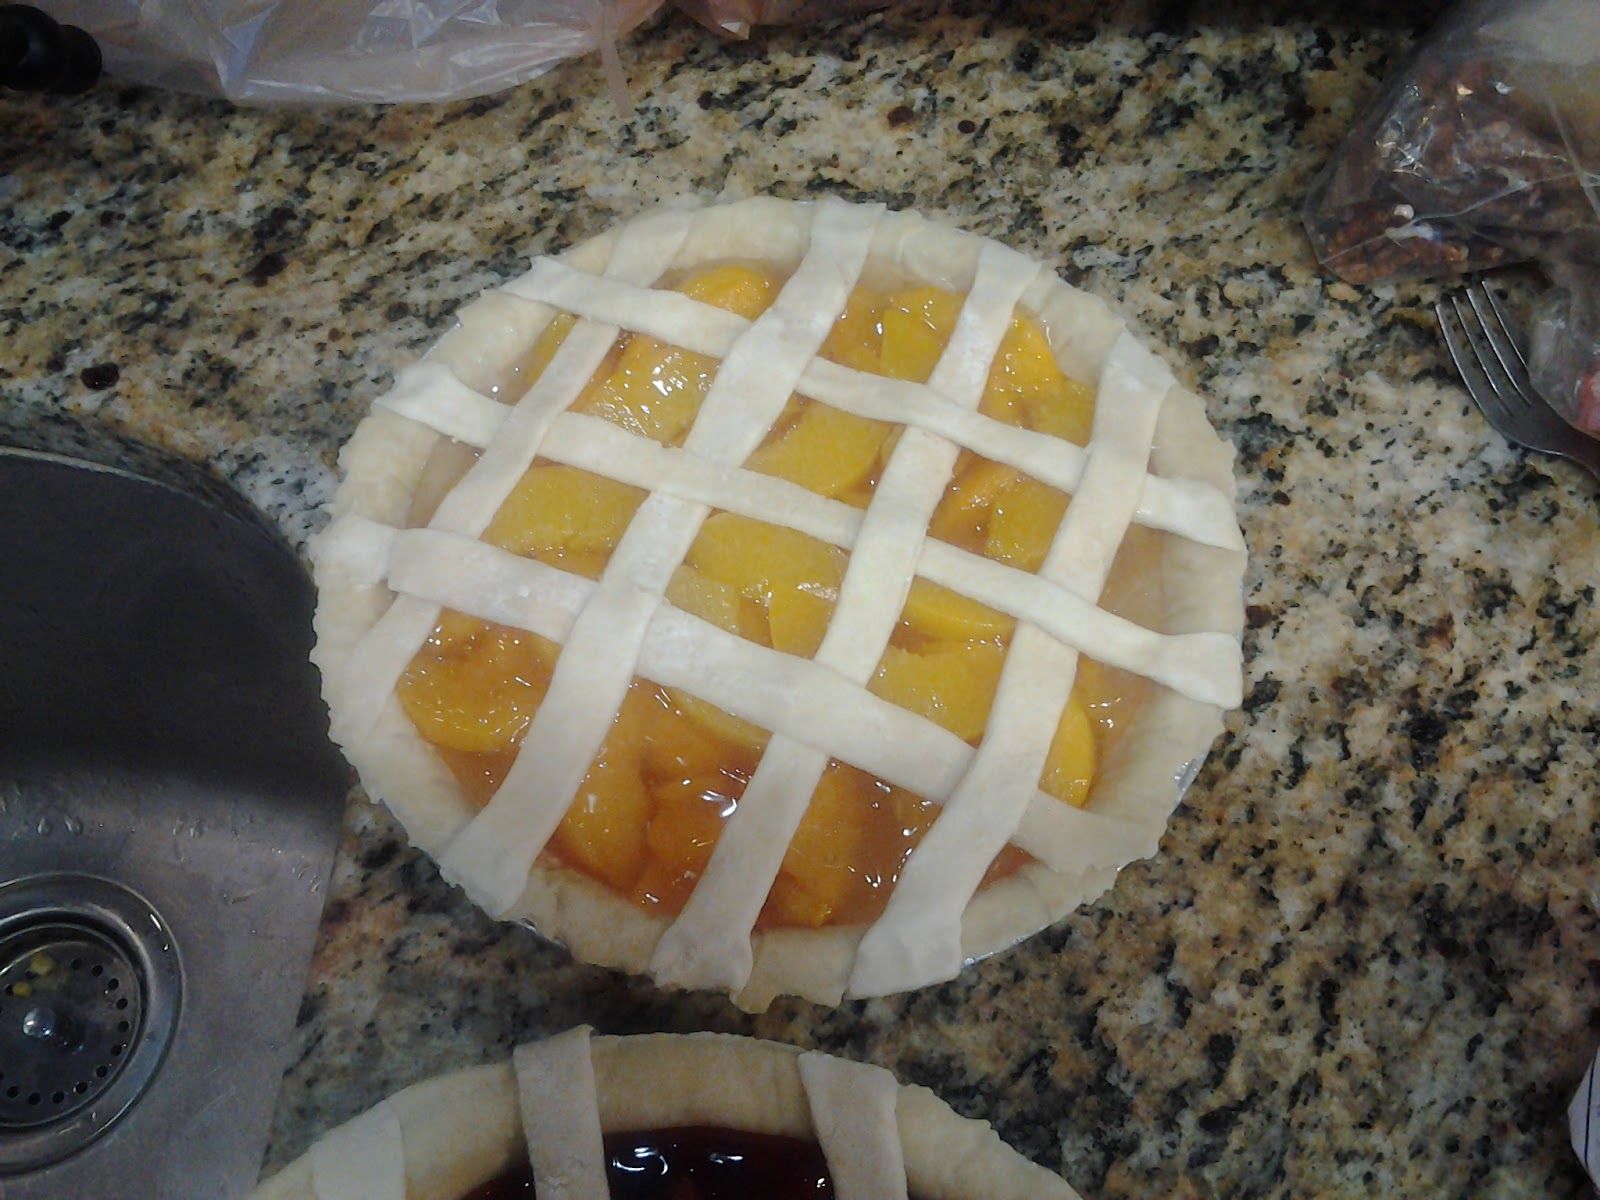
And now: how to make a peach pie (in a nutshell)
First: open can of pie filling
Second: Open can of peaches
Third: Pour can of pie filling into deep-dish 9" pie pan, then pour in 1/2 of DRAINED can of peaches. Using spatula, work canned peaches into pie filling, making sure that every peach has some of that gooey goodness covering it (otherwise you end up with burnt peaches.. not that I'd know this from experience or anything, no.. of course not...)
Fourth: Enjoy how pretty your half-done pie looks, and maybe even clean up your excess cans.. recycling and throwing things away while working is a good habit!
Next: You lattice it. I forgot to take pictures of this part, sorry.. but for a good tut, look at (one of) my favorite blog(s), here: http://www.ourbestbites.com/2008/05/pie-crust/
Luckily for all of you do-it-yourself types, they also have a tut on that same page on how to make your own pie crust!
And now, you can view beautiful pictures of a cherry pie!
(Ooooooooh!)
(Aaaaaaaah!)
And an Apple Crumb Pie!
(Ooooooh!)
A classic Apple Pie!
(Aaaaaah!)
Peach and Cherry pies ready to be baked...
(you've got the drill, right?)
(In case you don't: Ooooooh!)
This, of course, is a pie crust. It has waxed paper behind it because I ended up freezing mine, so they wouldn't get forgotten about in the fridge... this one ended up being cut up for lattices..
And.. this... well.. I'm not really sure why this is in here.. maybe to show how much pie filling I used on those 4 pies up above? (the ones about to go into the oven)
These, of course, are those self-same pies in the oven. The tinfoil.. well, if you've ever baked a pie, you know how easy it is for you to end up with a perfect pie with a somewhat burnt crust.. so, this is the solution: Tinfoil. It's obnoxious to put on if you do it the wrong way, but the crust turns out amazingly.
Just a close-up. In case you were wondering, I did it wrong in these pictures.. You can't really tell, but the proper way to do it is to cut a sheet of tinfoil, but the pie on top, and then fold the edges up. Whatever you do, do NOT try to cut the Tinfoil in strips and then wrap it around. Not only is that method harder, but it will end up making your spills much more noticeable.
Like I was saying... notice the spills on the Cherry Pie crust? yeah, me too.. that's what cutting the foil in strips does.
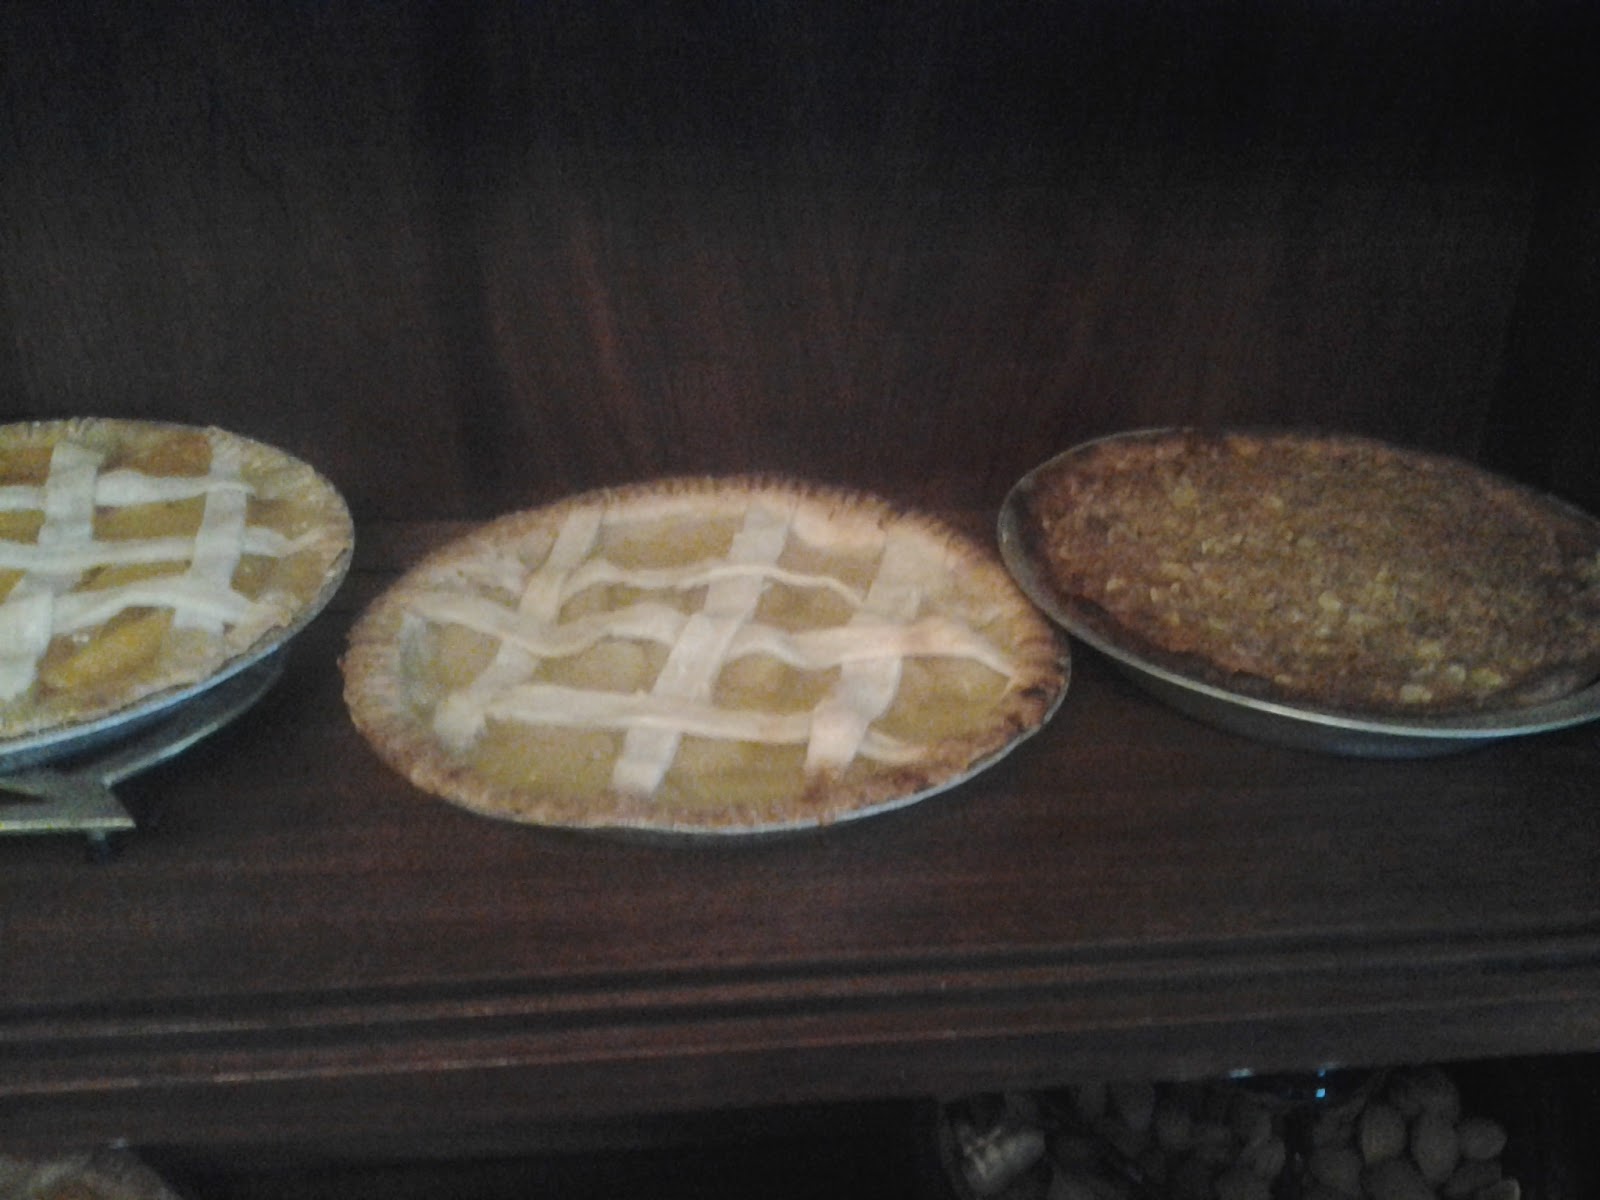
This, of course, if a finished product peach pie. I've been told that the lattice should have been bigger/closer together, and it should have been.. but I still think it looks pretty tasty!
And now Pecan... pecan pie is by far the easiest pie that I have ever made. It has about 6 ingredients: corn syrup, brown sugar, eggs, vanilla, pecans and pie dough. Very straight-forward, very easy, and always looks pretty. Just make sure you cook it the whole way through, to prevent egg problems (like Salmonella)..
And there are some rapid-fire shots of my pies on shelves!
(by the way, this Cherry pie I made later, with a closer lattice. I've been told that it looks prettier, and I'd have to say that I agree)
Yes, I did make 4 pecan pies. Actually, I ended up making another one after that, so call it 5. or 6, since I made another one after that... don't worry. I only actually ate 1. The other 5 I sold.
And now: how to make chocolate (Ice Cream) pie.
First: Open Oreo (or off-brand chocolate cookie)
Second: CRUSH THOSE COOKIES!!!!!
This step, of course, can be made simpler by blending the cookies, but for those of us without a blender (or who are unwilling to get out/clean a blender), you can easily crush these things using a liquid measuring cup and a plastic drinking glass. You want to end up with about 1 1/2 -2 cups of crumbs at the end (around 24 cookies)
Next: you put in 1 pint of vanilla ice cream (about 1/4 of a carton), pour in 1/2 cup of milk, and blend. Once it's smooth, add your chocolate pudding mix. If you add the pudding before hand, it will work, but will be much more difficult to mix. Not that I've done that about 3 times now or anything..
Now: stick that mixture into the fridge to cool a bit, so it doesn't melt.
The crust (with all of those crumbs you made), might end up looking like this. If it does, just add a bit more butter and crumbs.
Oops. very well. You're supposed to add 1/3 c of MELTED butter in the first place, then mix it together like a graham cracker crust.
The end product should look something like this. Feel free to bake or freeze this before filling it, or you might end up with crust not coming out with the pie. It makes a good ice-cream topper, but isn't probably what you're looking for.
By the way, this is what the mixture should look like. This looks like peanut butter under this light, I know, but it's actually really good chocolate stuff.
Lastly: Fill the crust! your filling should fill up the tin
pretty much
the whole way.. you can always make
more if it doesn't, though. Freeze
until you want to eat it!
This, everybody, is called a Pink Lemonade Pie. You should try it.
1/2 can of Pink Lemonade Concantrate
1/2 carton of Vanilla Ice Cream
4oz Whipped Topping (1/2 a small tub)
red food coloring if desired (to make it more pink)
Mix this stuff together and put it in a graham cracker crust, then freeze.. This stuff is HEAVENLY!
Well, I hope you all enjoy pie as much as I do. I ended up making 37 pies this year, 24 of which got sold. I guess all I can say is that Pie is a hobby. If there's any other food you'd like a tutorial on making, just let me know!