I rather like this particular little project. It wasn't very time consuming, and it filled an empty spot on my wall that was just begging for for embellishment.
I really like this particular project because it's super customizable, and it makes minimal supplies- a block of scrap wood, newspaper, mod podge, and Sharpies.
I started with this piece of scrap wood that I found out in the garage. the clementine is in the picture to show you just how small it really is. In all, it was about 7"x3.5".
I cut it in half very imprecisely, then sanded off the edges and corners.
As you can see, on the other sides of these blocks are imperfections, but they don't matter much, as these sides will end up against the wall.
I grabbed a random sheet of newspaper we had sitting around- one that had mostly words, not pictures, as I like the look of words in the background.
I had orignally intended to use a page from a favorite book that was falling apart, but I couldn't find one, and I have a thing about destroying books that aren't coming apart/already apart in the first place. It just feels wrong. Especially one I like. So I stuck with the newspaper.
I started by cutting out rough squares that covered the fronts of the blocks with extra to spare. If I had thought about it a bit longer, they would have been big enough to fold around the edges of the block, too, but I didn't. Maybe you will.
This stuff is pretty much the most important part of the project. I think you might be able to use white elmer's glue, but it will be harder, and probably won't look as pretty. I was lucky, and found this in my craft drawer, but for those of you who don't have any, I'm sorry, but I didn't come up with a work-around for this one.
One thing you need to remember: follow the instructions for this stuff. It is very easy to make a mess with, and will ruin clothes if you're not careful.
Also, wash your brush every time you finish. Each coat of mod podge needs to dry for 15-20 minutes, so wash your brush between each coat, dry it off with a towel, and let it air-dry until you need to use it again. This will save you a lot of pain in the long run.
I painted a thin layer o.f mod podge onto the front of each block, then pressed the newspaper onto them. Because this is a liquid glue, and partly because it's water-based, if you leave this to dry on its own, you will get rather ugly bumps and ripples in the paper, so I pressed mine with the nearest large and heavy book- my Chem textbook.
This is how the two blocks came out. It was at this point that I realized what I had done with the edges, and considered getting my EXACT-O knife to the edges, and just leaving the fronts covered, but ultimately decided against it, just because I like the wrap-around look.
I then cut the rest of the article into strips, being careful to leave out any graphics or images.
I put thin layers of mod podge on the block front where I wanted the strips to go, laid them on, and then re-pressed them under the textbook. The thing to remember in this is that mod podge is a glue, so if you have any left on the block front that isn't covered by paper, you will be gluing the block to the table. Unfortunately, I did that on this block, which is what those two empty spots are. I left it, because I didn't think it looked terrible, but you should still be careful.
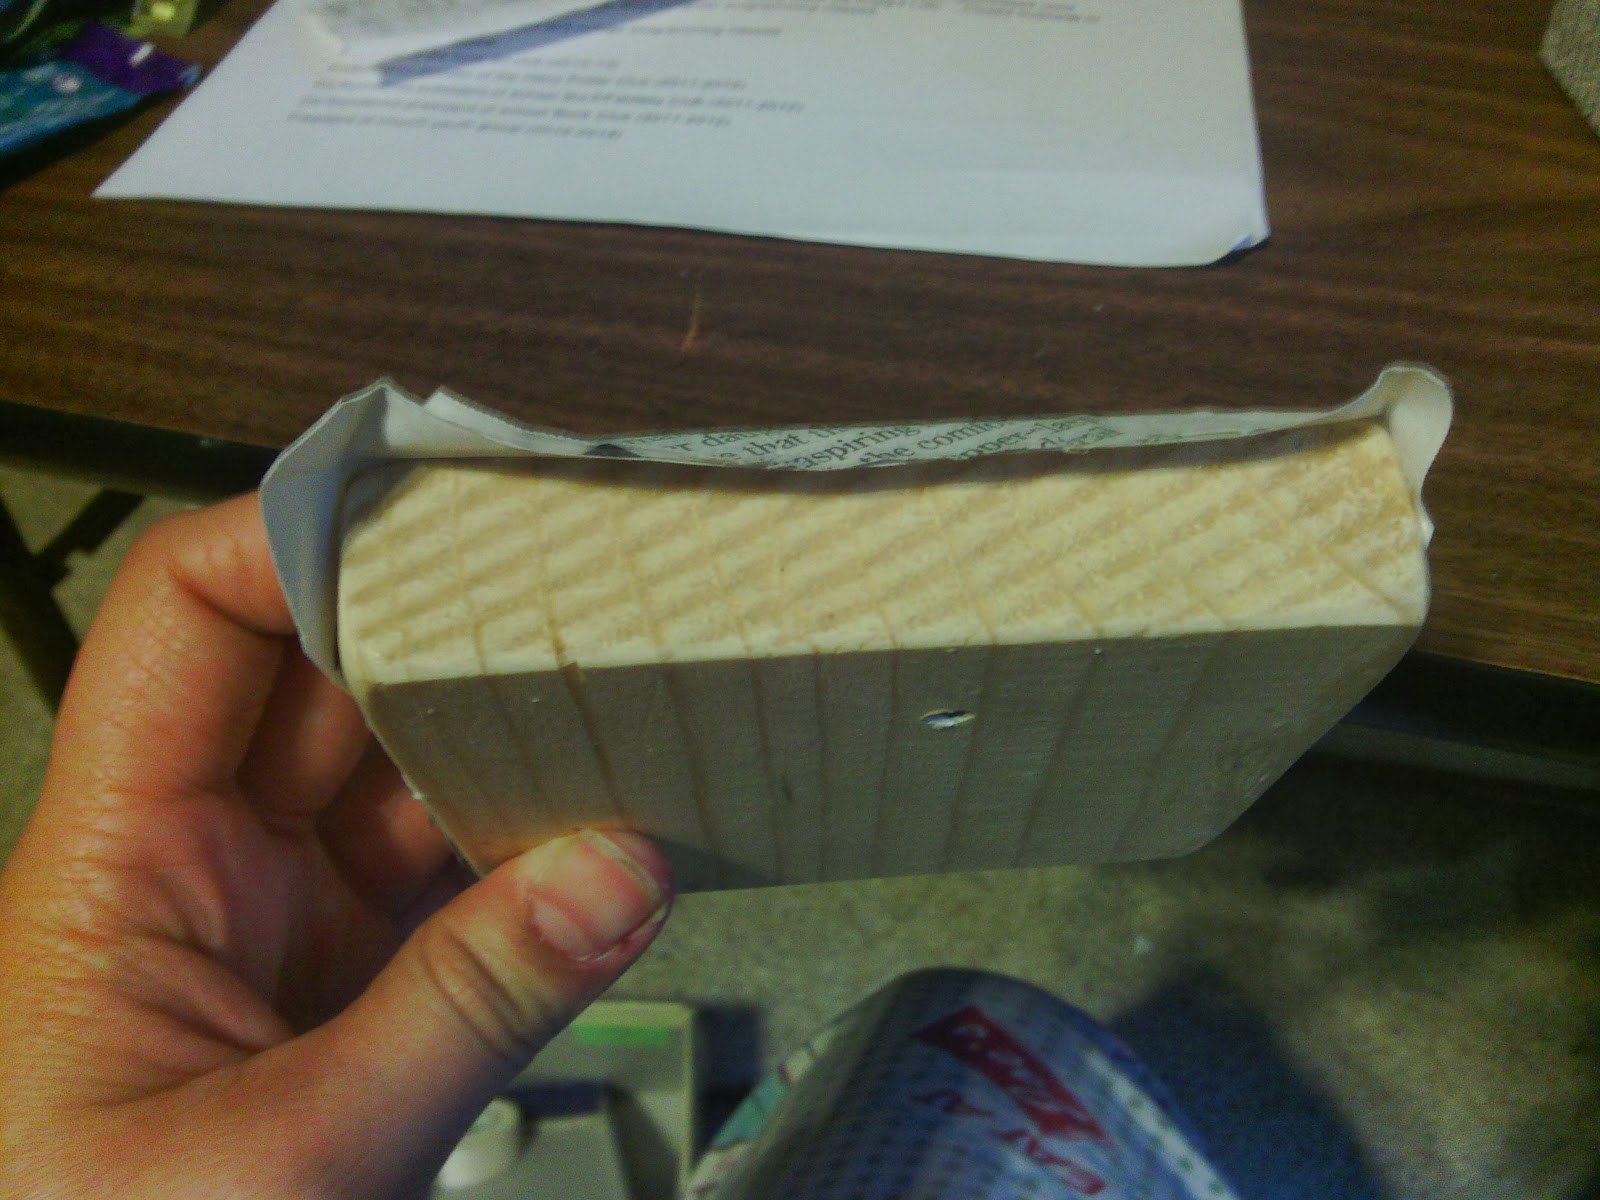
When the fronts were glued, I decided to move on to the edges. The paper hanging over the edges was a bit too much on some areas, so I trimmed it.
This is a rather fuzzy picture of how much mod podge you should want to use for gluing. You can't really even tell that it's there, which is the perfect amount.
To get crisp edges, the best method that I came up with was to lean the front edge on the table, then roll it back until the side rested fully on the table, then sit there, applying as much force as you can, for a few minutes. These won't be fully dried by then, but they'll be dry enough that they'll stay as you work on the other edges.
When you've finished with two opposite edges, you will end up with two corners sticking up like this.
Mod podge that edge, then fold in the corners as if you were wrapping a present.
Then, again like wrapping a present, fold the remaining flap down. Use the same method as before for keeping that flat and smooth.
Repeat for the last edge.
When your two blocks are done, they should look like this, more or less. Try to line them up like they were when you first cut them.
Here comes the art... collect a big sharpie, a fine-point sharpie, and a pencil. I have two fine-points because one of them doesn't work well, and I can never remember which one.
This is hard to see, but I started out by drawing a tree branch and two birds onto the blocks, being careful to draw the branch continuing onto the second block, so that it all looks like one piece of art, not two put right next to each other.
I then used the fine-point sharpie to outline the branch, adding a few embellishments where I thought it could use them
I then outlined the birds. These were a bit more difficult, because they were somewhat more detailed, but it was still pretty easy.
I then filled in with the big sharpie. I had a bit of a bleeding problem where the words had been ripped off earlier, but I just added a bit more sharpie an fixed it.
You could just leave these block like this, but I wanted to finish them and waterproof them.
Luckily, Mod Podge works perfectly for that, as well. I painted on a rather thick coat- thicker than I had for any of the gluing layers- and let it dry.
And ta-daa! These could be left like this, for dest artwork, but I made them for the wall, so on the wall they went!
I decided that I liked them a little better separated a little bit, like so.
I had this package of post wall-mounting strips that are supposed to not damage the wall, so I decided to try them.
Unfortunately, this particular method showed with wooden blocks, since you can't just peel back a piece of paper to get at the fasteners, but you can minimize the effect, and it's not a big deal in the end.
And there we have it! Your finished wall art! This could also be done with bigger blocks if you wanted, and/or more intricate drawings.
This is where they ended up on my wall. They aren't very big, especially as compared to my other art work, but I feel like they fit.

 Of course, my pillow's suit is the wrong color, but this doctor often/sometimes wears a blue suit. About half the time. In any case, it looks cool, and that's the real point. For those of you who want to be more canonically accurate, go for the brown suit.
 In any case, on to directions. I started this pillow out much the same as I did the other one. I used cloth of the same dimensions (~11"x11"), and set to research. Luckily, a rather awesome Etsy shop-owner saved me a lot of time and effort by giving me some awesome pictures on which to base my pillow. I made some minor tweaks, but essentially copied her, so anyone wanting one, but not wanting to spend the time to make it, head over here to buy one for yourself. On a side note, had I looked a bit harder/farther, I would have also found a good pattern base for my Sherlock pillow, but oh well. Live and learn.