Have you ever tried tiling a floor? well, neither had I until a few days ago. I did not tile it by myself, but I did a decent part of it. I worked with vinyl tile, which I understand to be easier than the classic stuff, but it's still the same general concept. We even grouted.
The first and hardest part of tiling a floor is the first tile. Always. Measure twice, cut once. Place once. Actually, measure as many times as you can sanely stand, and then mark and measure some more. I cannot stress enough the importance of this first tile. Tips: Don't start in the corner, since your walls, almost definitely, will NOT be square, which means a tile in the corner will make the whole room look funny. (unless, of course, you want it to look funny...)
Next, work on the whole inner portion first, then the outer edge. Look at pictures if you need some (I don't have any like that, because our pattern was done funny).
And now picture time. Sorry for the delay, but I didn't consider this for my blog until I was halfway in.
This is where you come into the picture. This is for a half bath, so this is pretty much all there is to see at the moment. You see that toilet tile? yeah. I just put that in. I had pictures of my dremeling the hole, but pictures are being buggy, so those died.
As you may or may not be able to see, the hole isn't perfect, but I've got at least one inch, really closer to two, on every side that the toilet will cover, so I'm good. And, actually, I think I did a pretty awesome job on this. However, you know why? because I (say it with me now) Measured TWICE, cut ONCE!
This is the line I lined it up with.. once again with the measuring. As you can see up above, we did a funny pattern, not the classic squares. This will cover up any MINOR imperfections, but if you mess up anything major, it will be just as obvious and twice as hard to fix.
Now this is where perfection comes in, at leas for me. see those little white things at the edge of the tile? Those are 1/8" spacers. Like the professionals use on normal tile. Like I mentioned before, we are grouting this.
By using spacers, we added a lot more time, but we also added infinitely more quality- people will walk in and go, 'Oh, look. It's tile', not 'Oh, look, they used the cheap ugly Home Depot vinyl'. Not that they would consciously think that, but it does leave an impression.
Again with the care you must take in setting down the tile with spacers.
When using them, make sure the spacers are in correctly (perpendicular to the tile, not sideways).
When cutting tile, measure a bunch of times, draw lines, and hold a straight-edge to the tile while you cut to avoid mistakes. This is critical. Also, do not cut unless you absolutely have to.
This is the beginnings of measuring, before drawing a line. You should do this.
Also, remember to cut on a board ABOVE or TO THE SIDE of you vinyl floor- your knife will slip and cut something, so you should ruin a board, not you floor that you spent so long putting down.
This is what the end piece should look like. We have 3/4" trim that will go around the edges of the room, but make sure you know how big your margin of error is before you go cutting things up.
I'm not sure you can see very well, but this tile has arrows on it. While tiling, make sure all of the tiles have the arrows pointing the same direction. Trust me on this one, they are there for a reason, and your floor will be much improved if you do so.
Tadaa! the last corner piece in.
We had to shave some of the edge off because someone... don't ask me who... measured incorrectly...
You can see where the shaving off had to be done.
But it turned out really nicely! (I think)
Next, you need to roll it. Follow the instructions here. It might look stuck down, but paying $10-$15 to rent a roller for the floor is definitely worth not having the floor peel up in a year or two.
Pounding difficult areas like around a toilet hole with a non-marking (WHITE) mallet like this one is also a good idea. The place we rented the roller from threw this one into our rent for free just for that area.
This would be that (100 lb) roller I mentioned before. Don't just roll it; lean on it to add extra weight. Also, make sure you go over the whole floor multiple times, especially where you wont be walking on it frequently. (Read: against the walls)
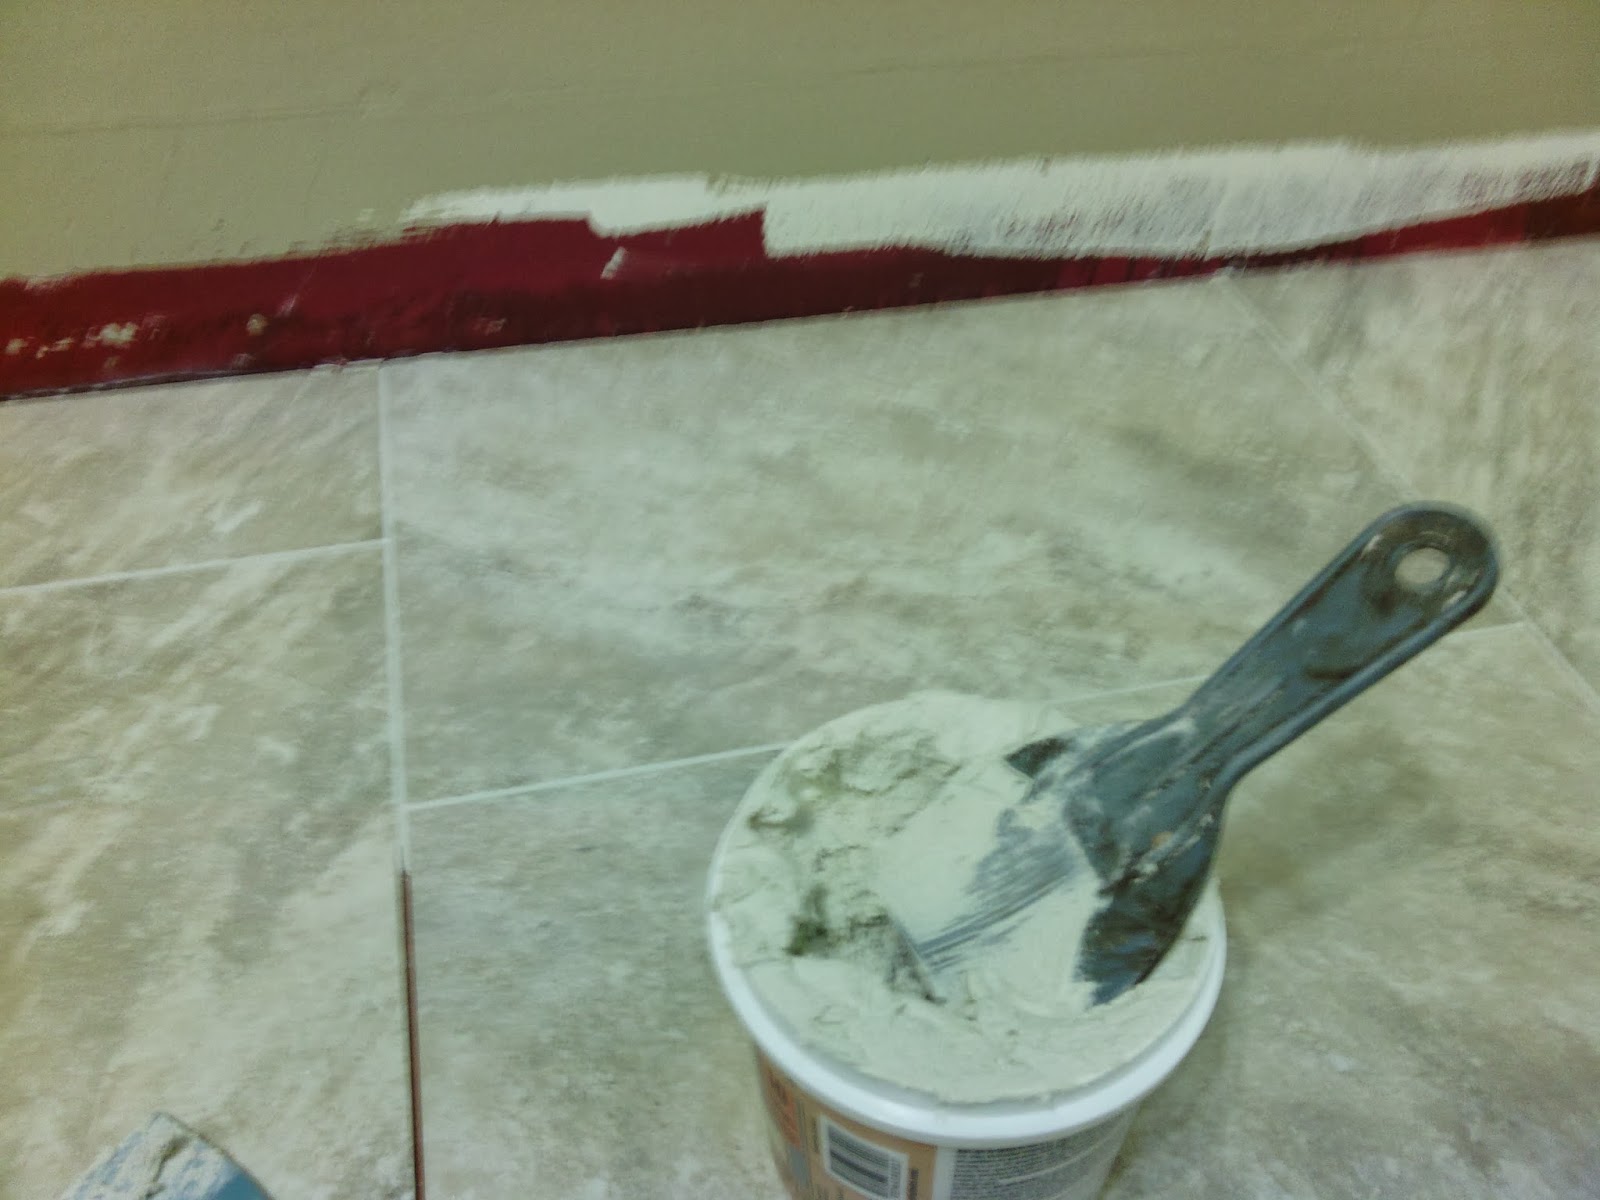
This is the grout we used. Make sure you get stuff that says it's vinyl-friendly, because not all are (in fact, most are not)
Remember to use sponges. I know that normally spnges might not be your tool of choice, especially not sponges this big, but use it anyway.
You want to pile that grout in really thickly; if you've ever seen a professional, do it like they do. Otherwise, follow the instructions. Even better, do both simultaneously (that's what we did).
It should look like this. Then, you scrape off the excess until it's really thin (no pics of this, as my hands got really dirty- yours should too, or you're doing it wrong). Then, you sponge it off. Remember to follow the instructions.
It should look something like this.
If you have doors in your room, remember to grout behind them before doing the rest of the room to save yourself a lot of pain.
Work in chunks- don't try to do the whole room at once.
This is the final product!
Except for some minor cleaning being take care of my my beautiful sister here!
(In case you are wondering, I WILL be posting pictures of the bathroom once it is all put back together. Who knows, maybe I'll make a blog post of how to put trim up!)


