Monday, October 28, 2013

Mistborn Mistcloak

Tutorial for the Mistcloak I made for Halloween. Enjoy!

 Next, the most important part of the Mistborn outfit: the Mistcloak. The mistcloak is described like this:
"He pulled open the pack, then whipped out a dark grey cloak. Large and enveloping, the cloak wasn't constructed from a single piece of cloth -- rather, it was made up of hundreds of long, ribbonlike strips. They were sewn together at the shoulders and across the chest, but mostly they hung separate from one another, like overlapping streamers."

Well.. that was pretty intense. I didn't have the resources to do something quite that cool.. I didn't have 'hundreds' of strips on mine, but I htink I did pretty well.

I started out with a hooded cowl. If you'll remember, i made one of those earlier this year, and I said the second one I made looked like it was designed for cosplay... well, look who ended up using it for just that!
This is the pile of leftover material I had. Luckily, it was more or less a rectangle, which made strips of cloth quite easy.
 Actually cutting strips is a long, tedious, obnoxious task that I didn't feel like doing, so I cheated. Rather than cutting my strips, I ripped them. On almost every cloth, there are two directions you can rip the cloth, as long as you have a ct to start the strip out with. so, I cut about an inch and a half in, and ripped it. I kept doing this until I ran out of cloth.
 This is what one of the strips looked like after I first ripped it.
 And here's my pile of strips. I didn't have hundreds, not even close, but I did have 50+. Close enough for me, at least for now.
 I decided I didn't care about hemming the strips, mostly because that many would have made hemming such a nightmare that the costume wouldn't be worth it. so, I sewed them directly onto the scarf. The only thing to remember when doing this si to put the seam on the part that will be towards your neck. You can tell this because of the wasy the hood seams go. As illustrated in the photo.
 I decided how far I wanted the strips to go around by measuring how the scarf fit around my shoulders. This is entirely subjective, but I chose to go 13" in either direction, which is why that strip is there. I sewed one on either end of where I wanted them, and one in the middle.
 When I actually started sewing all the individual strips, I did it like this. I didn't have them right next to each other, I overlapped each of them by ~1/2". I went all the way around, then tried it on.
 This is a front view.
 And a side view. I decided it wasn't quite enough strips for me, which is fortunate, since I still had around half my pile left.
 I sewed the next half on the same way, except that I overlapped them a bit more than the first ones, and I put this row of strips about an inch up from the other ones.
 Front view.
 This is the only 'action shot' in the whole post. As you may or may not be able to see, this was just with me walking. When I ran, it looks even more epic. Even with only ~50 strips, this is a really cool costume piece.

This is the point at which I tell the problem with my method: anti-fraying fabric, whether via burn/melting the edges of each strip, or hemming each one, or sewing them into tubes and turning them inside out... whatever you do, it's very important if you don't want this coming apart very quickly. I thought I'd just leave it, but it started coming apart, and I spent upward of 4 hours burn/melting the edge of each strip. This would have been MUCH easier to do before they were attached to the cloak.... so just make sure you do that, if you ever want to wear this more than once. or if you get irritated by threads getting stuck everywhere.

In these practice runs, I realized that the cloak was a bit too long. This shows about how much taller than me it was- the part on the ground in this picture is the part that was also one the ground when I wore it.. so I chopped about 4 inches off the bottom.

 As you can see, it's off the floor now. I had to re-burn all the bottoms, but it was better than having it fray, and also better than constantly wondering who was stepping on my cloak only to realize it was me.


Tadaa!

Tuesday, October 22, 2013

Halloween Decorations

Our family usually doesn't do Halloween decorations, partly because my mom thinks they invite the wrong kind of spirit, with dead bodies and witches and junk, and partly because no one ever comes to our house for Halloween. I had a few extra minutes here and there, though, and decided to add a few Halloween-y touches to our Family Room.

 
Like I said, I whipped this up in a few minutes, but it adds a nice festive air to the room, and can easily be adapted to a bigger project.
 I also made fall-themed pillowcases, and between these two updates (pillowcases are much easier/cheaper than pillows, btw), the room seems more fall-themed.
 I made spinny-ghosts, which twirl with the wind currents in the room caused by the fan.
 And bottle Jack-O-Lanterns
  To make the ghosts, I started out with blank sheets of printer paper. I knew I wanted two, so I just did everything with the two stacked right on top of each other.
 I cut (more or less) a circle out of the papers.
 and then I cut the paper into spirals. Sorry if it's hard to see, but make sure you leave a nice-sized circle in the middle for the ghost's heads.
 Then I used a black marker to draw faces on them. You can make these as scary as you want, but like I said, my mom doesn't like 'scary' Halloween decorations, so I stuck with smiley faces.
 Because the plan is for them to be rotating, I flipped them and colored in the backsides, too.
 When I lifted them up to try them out, I didn't like how the heads hung, so I cut a bit of a loop for a neck on each of them.
 This is what they look like, just being help up.
 I punched tiny holes through their heads and strung white thread through them, and then I hung them on the mantle!
 You could very easily tape these up, attach them to the ceiling or whatever you want, just have fun with it!
 To make the Jack-O-Lanterns, I started out with a Ginger Ale bottle we'd gotten at some restaurant or other a while ago. I soaked the bottle to get the label off (probably the hardest/most time consuming part of this project)
 Then I dried the outside off, and outlined the face I wanted in sharpie.
 I then colored it in. If you don't want to color on your bottle, or you don't think it contrasts enough, you can also cut out pieces of black paper and use double-sided tape to stick them on.
 I then filled both bottles (I had a little one, too) with orange water (I just added some orange food coloring to  the big bottle, shook it up with some water, and used that to fill the little one).
 And then I put them on the mantle with two small pumpkins we had sitting around.
All in all, not bad for ~ 20 minutes worth of work.

Thursday, September 26, 2013

Viking Stitch

At the rennaissance festival, there was a woman weaving wire around a stick in a very cool way, and when I asked her what it was, she said it was a 'viking stitch'. It looked awesome, so I filed it away to learn how to do later. Because I was running low on wire, I made this bracelet rather than a necklace. I really wish I had a pic of what she was working on, but I guess you can make do with my sub-paar attempts (they still look cool, just not as cool as hers. 

 So.. I did fix the end so it didn't stick out, but that's basically what it looks like.

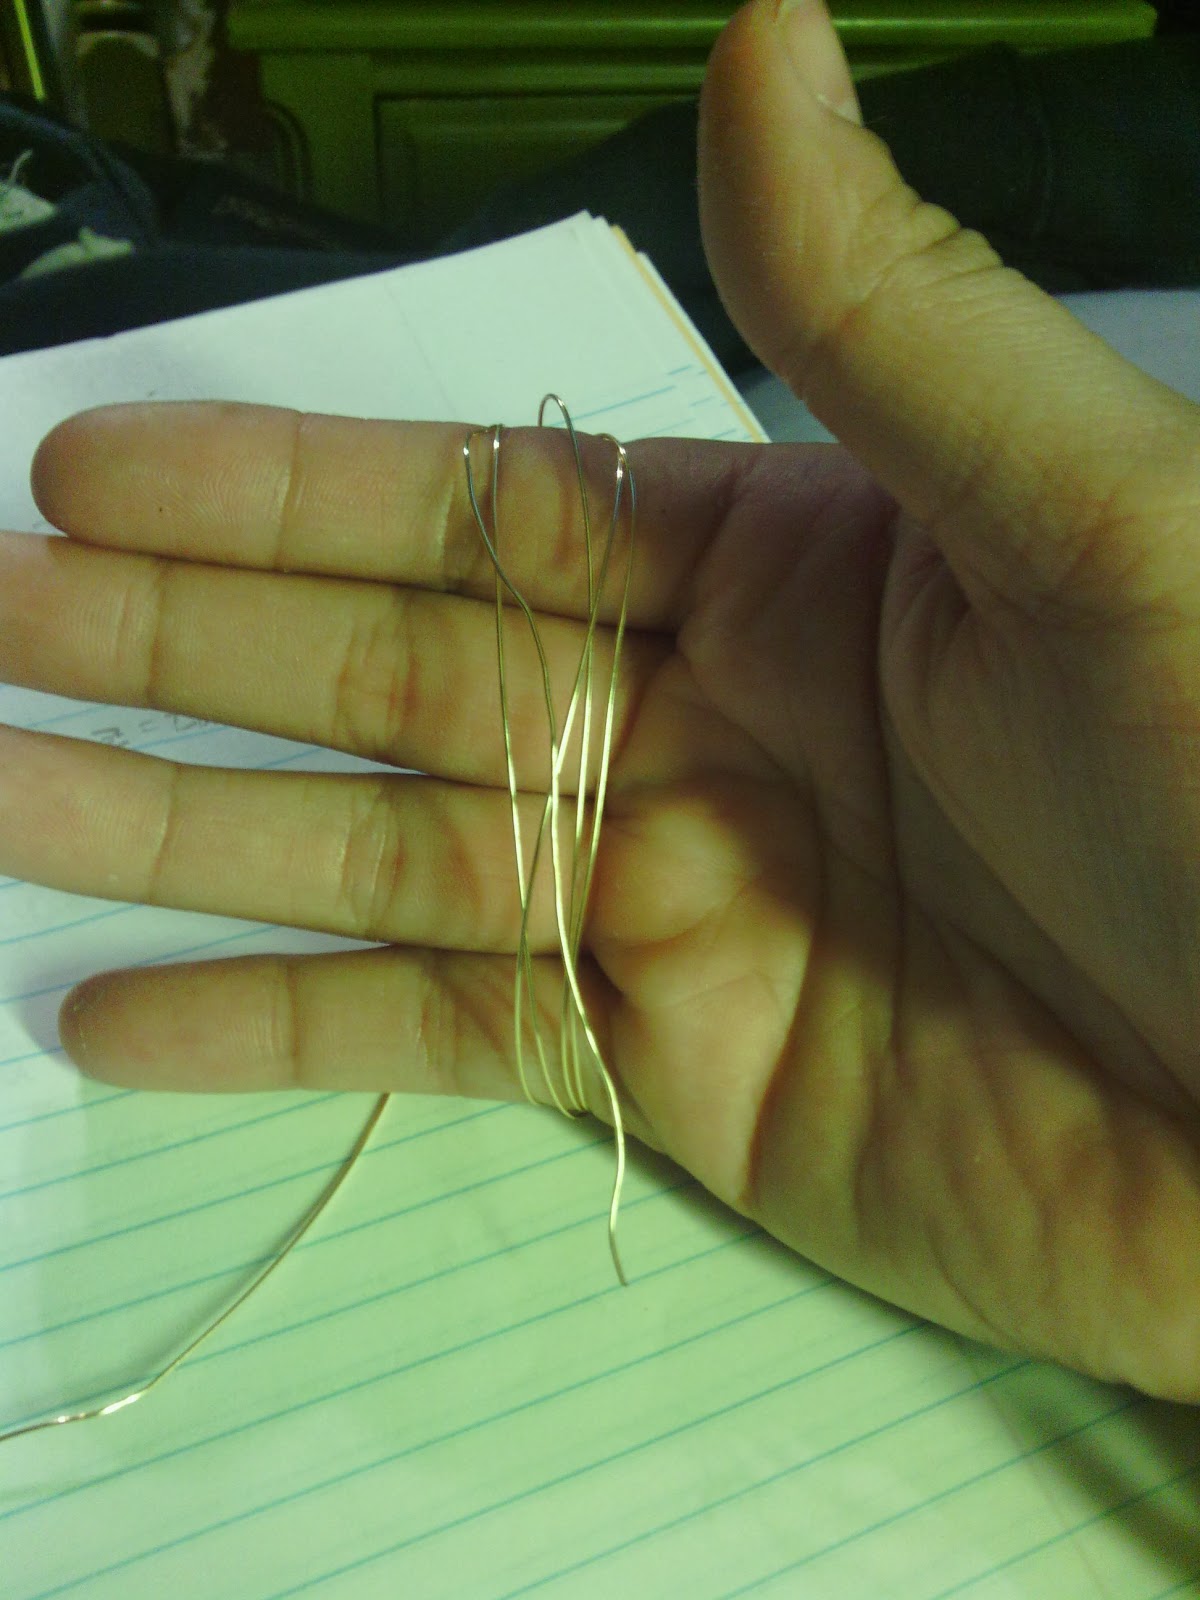
I started out with this really fine gold wire I got from a craft store a few years back. Sorry there aren't any more details on it, but I don't remember much more. I started with about an arms length, then worked from there. Actually, I stopped at the end of that one, but the second one I did I added on to.
 In any case, you start by making 5 equal loops in the wire like so. If you look it up anywhere else, they'll say to wrap it around a credit card. I was lazy. You should trust them, since it does actually make it easier, since they're guaranteed to be the same size.
 In any case, now you wrap it like so. Remember that this part is done with the end of that arms-length piece.
 Spread the five loops out like so, relatively flat.

 You now want to wrap the ends around the top of a round stick thing. I chose my pencil because it was convenient. Another suggestion: Go get something more like a dowel rod. this particular pencil was a bad choice due to its bumps, clips, etc. You want something smooth, or it's a monster to get off.
 At this point, the hanging end should be lying next to one of your loopies like so.
 I made a tactical error in starting. As soon as you reach the step above, tape it. Hard. leave the end of the loops exposed, but everything else should be held pretty tight.

Once that's done, start looping. Go in the right side o the loop, then loop around the the right side of the next loop, etc.
 Basically, do this. Repeatedly. When you finish one circle, start looping on the other loops.
 Like so.

 To illustrate my point about my pencil being a bad choice: you want your loops to be even. This is definitely not even. All the loops are on one side, with the empty stuff on the other. No good.
 As you can see, they're all over on this side. Looks good on this side, but the empty space pictured above isn't good.
 As you go down, it should kinda even out, and look something like this.
 Or this. As you may or may not be able to see, my bad start with too much space was pretty much evened out in the grand scheme of things.
 The real problem is getting it over that bump and the clippy-thing while I take it off.
 But I managed. So here it is, this cage-looking thing. At this point, you start stretching it. The easiest way of doing this is with a special tool made for it: a board with progressively smaller holes drilled in it.

Me? I'm lazy, so I just stretched it with my hands. Not so nice for the hands, but it's not too bad either. Just remember to go from the top (loopy end) to the bottom.
 This one stretched out to about 1 1/3 the size it originally was, and looks much better this way, if I do say so myself.
 I then took the end/leftover wire and used it to attach it to the loopy end. Tadaa!