Thursday, September 26, 2013

Viking Stitch

At the rennaissance festival, there was a woman weaving wire around a stick in a very cool way, and when I asked her what it was, she said it was a 'viking stitch'. It looked awesome, so I filed it away to learn how to do later. Because I was running low on wire, I made this bracelet rather than a necklace. I really wish I had a pic of what she was working on, but I guess you can make do with my sub-paar attempts (they still look cool, just not as cool as hers. 

 So.. I did fix the end so it didn't stick out, but that's basically what it looks like.

I started out with this really fine gold wire I got from a craft store a few years back. Sorry there aren't any more details on it, but I don't remember much more. I started with about an arms length, then worked from there. Actually, I stopped at the end of that one, but the second one I did I added on to.
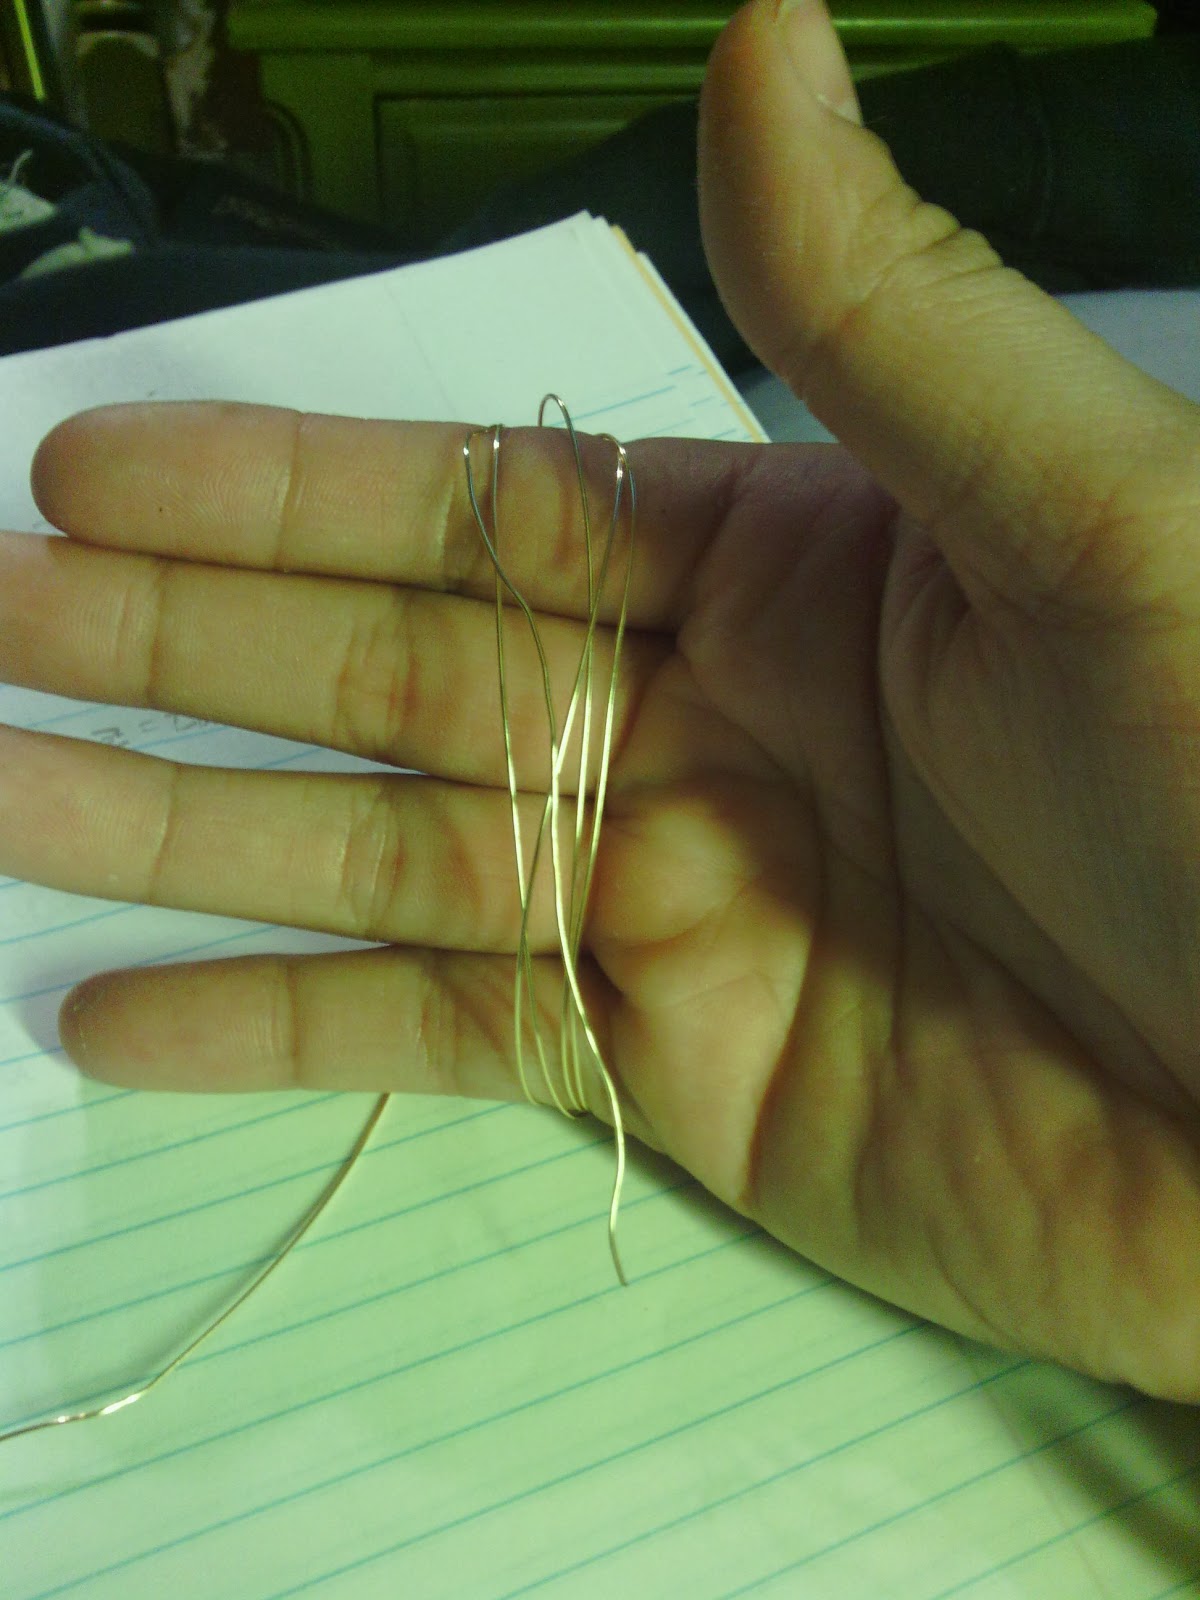
 In any case, you start by making 5 equal loops in the wire like so. If you look it up anywhere else, they'll say to wrap it around a credit card. I was lazy. You should trust them, since it does actually make it easier, since they're guaranteed to be the same size.
 In any case, now you wrap it like so. Remember that this part is done with the end of that arms-length piece.
 Spread the five loops out like so, relatively flat.

 You now want to wrap the ends around the top of a round stick thing. I chose my pencil because it was convenient. Another suggestion: Go get something more like a dowel rod. this particular pencil was a bad choice due to its bumps, clips, etc. You want something smooth, or it's a monster to get off.
 At this point, the hanging end should be lying next to one of your loopies like so.
 I made a tactical error in starting. As soon as you reach the step above, tape it. Hard. leave the end of the loops exposed, but everything else should be held pretty tight.

Once that's done, start looping. Go in the right side o the loop, then loop around the the right side of the next loop, etc.
 Basically, do this. Repeatedly. When you finish one circle, start looping on the other loops.
 Like so.

 To illustrate my point about my pencil being a bad choice: you want your loops to be even. This is definitely not even. All the loops are on one side, with the empty stuff on the other. No good.
 As you can see, they're all over on this side. Looks good on this side, but the empty space pictured above isn't good.
 As you go down, it should kinda even out, and look something like this.
 Or this. As you may or may not be able to see, my bad start with too much space was pretty much evened out in the grand scheme of things.
 The real problem is getting it over that bump and the clippy-thing while I take it off.
 But I managed. So here it is, this cage-looking thing. At this point, you start stretching it. The easiest way of doing this is with a special tool made for it: a board with progressively smaller holes drilled in it.

Me? I'm lazy, so I just stretched it with my hands. Not so nice for the hands, but it's not too bad either. Just remember to go from the top (loopy end) to the bottom.
 This one stretched out to about 1 1/3 the size it originally was, and looks much better this way, if I do say so myself.
 I then took the end/leftover wire and used it to attach it to the loopy end. Tadaa!


Thursday, September 19, 2013

Leather Wrist Cuff

To clarify the next few posts for those interested: I went to the Ohio Renaissance Festival this last weekend, and I made a few crafts as prep for that, and one or two as a result of inspiration gotten there. This particular craft was one I made for my costume. It was supposed to be a full length, arm covering piece of armor... unfortunately, none of my leather pieces were big enough to make an arm guard that big/long, so I made do with what I had. Frankly, I almost like it better this way, since I can kind of wear it just as a chunky bracelet. Maybe a fashion statement. In any case, here goes.

Unfortunately for you guys, the only picture I took of me actually wearing this was after I had started fixing the 'not-covering-the-whole-arm' problem,by making a scale lather guard. Doing stuff scale stuff is harder than you might think.. I'm still not done (I've also been slacking/focusing on other projects)

I also appear to have somewhat manly-looking arm from this angle. Interesting.
 So, I started with this piece of leather. Remember that big bag of leather I got from Michael's? Well, this is from that. I chose this piece because it was the widest of all the pieces I had.
 You can pretty much see how much of my wrist it covers just from this pic. Like I said, not very much.
 I used this strip of paper to measure the length around my wrist. It's hard to take pics like this, but I actually used the hand holding the camera to draw a line there.

 I folded it in half along that line.
 Then I guestimated the middle of that rounded bit on my leather. My pieces actually came with those pre-cut, which it why it has that weird divot in it, but pikers can't be choosers. Or however that phrase goes.
 I used this old parking pass as my straight-edge for this project. No big deal, just a more convenient size than my massive metal ruler.

Major suggestion right here: You didn't, if you did it my way, measure super precisely. ADD 1/4 INCH to what you're cutting right now. You'll appreciate it down the line. Trim it back until it fits, then go to the next step. I had to trim back at least 3 times, be remember that you can always cut more off, you can't cut more on.
 Here's what your piece should look like, more or less. The reason your sides/my sides are slanty is because your arm isn't a straight tube, it widens as you go towards your elbow. Thus, more leather is needed back there.
 You can round the corners at this point, or leave then pointy. I find/found it more comfy to round them, but I also had a nifty template to do so with.
 And I was left with a piece of leather looking something like this.
 At this point I did something I should have done before I trimmed back my edges or rounded my corners- I soaked it. Just fill your sink with warm-ish water, and leave it to soak for 15-20 minutes. This is a trick I found since last time, and I can vouch for it doing wonders as far as ease of working goes.
 The real trick is to let it soak until the bubbles go away. My bubbles were small, yours might be big. In any case, just FYI: if you get pre-dyed leather, that's fine, but apparently this is what happens when you soak it. Perfectly fine, doesn't stain your sink or anything, but you get some pigment down there.
 Towel off the drippy-ness, then set out your leather o your work space.
 Get your spoon (I got this tool at Micheal's, but honestly a spoon works just as well). Use the rounded end, and go along the edges of the leather with it. You won't think you're doing much, and you have to press really hard TO do anything, but if you do it right, all in one direction, this should 'finish' the edges of your leather.
This is the point at which you decide how many holes you want on each side. I decided on 3, but however any you want is fine.
 then stenciled a 'pattern' into the leather. This, at least for my piece, was exhausting and hard, just because of how thick the leather was, so I just did something simple, as you can see. This can be done with a tool, or with anything pointy, even a golfing tee.
 At this point, I threaded my cuff and left it to dry overnight. You'll need overnight for a cuff so wet to completely dry, and you want to lace it up so it'll dry in the shape you want it, no flat.
 And this is the final product all mink oiled and such. Remember to mink oil your stuff (see my other leather bracelet post for how), or your leather will dry, crack, look bad, and be uncomfortable much faster.
And now you can look, wear, and enjoy!

Thursday, September 12, 2013

T-shirt Infinity Scarf

   I've really started wearing infinity scarves a lot lately. I'm not quite sure why, but something about scarves I've always liked, and combining that with the no-ends-to-get-in-the-way factor of infinity scarves just make them perfect. Plus, I don't have to constantly feel like I need to fix or rearrange my scarf this way.
   In any case, now that we've established that I like wearing these scarves, lets also establish that I really like making them, too. There are so many different ways of doing this, and this is just one of many. This way is, arguably, harder than many other ways, but I'm pleased with the result.

This is the scarf looped twice around my neck. At the end of the post, you'll also see pics of it looped once (not at all), three times, and four times. Each way is just a different look, all of which have some sort of application. I wear my scarves this way usually when I'm trying to look slightly more formal.

 I started this project with an old T-shirt I got by abandonment, and I felt no problem with cutting it up because
1) it had holes
2)I've been wanting a stripey scarf, and this material looks/feels comfy
Unfortunately for me, this particular Tshirt had a funky elastic thing in its seams, I'm sure to be stylish somehow...
 This is a close up of said annoying elastic. I unpicked this, but it turned out to be something of a redundant step.
 This is the tshirt after I unpicked the elastic (bigger looking now, can you tell?)
 And this is the shirt after I cut off the side seams and sleeves, and cut the shirt in half. This is the reason unpicking turned out to be redundant. Of course, it made it easier to measure half, but not a big deal.
 At this point, I had two strips that looked like this in the middle.
 I solved this by cutting the whole neckline piece out. The nice thing about my stripey shirt is that I could just cut along the stripe closest to the seam, and end up with a straight line that way.
 Of course, this left me with 4 pieces rather than 2, but it's fine, since the end sizes were all the same.

At this point, I sewed three of the pieces (the two longs and one of the shorts) together, just adding on until I got the length I wanted, then sewed it into a tube, and finished it off, in much the same way as in my earlier scarf post.

Sorry for no pics, but it didn't occur to me until afterwards to take any.
One thing you should take note of: If you are doing stripes, make sure to line them up when sewing your tube. It doesn't have to be perfect, but being completely off will just look bad. With smaller stripes, this gets super obnoxious really fast. Stick with it- it's worth it, trust me. You'll have a lot more satisfaction with your end product.

As you can see, this scarf turned out a bit thinner and ropier than some, but it's also about as long as you want an infinity scarf. Or, at least, about as long as I  want one.
 Doubled over, as seen earlier, it looks like this.
 If you add another loop, it looks like this.
And another (4 loops total, now) looks like this. Usually  can only fit 3 around my head, but since this material is a bit stretchy, and the scarf is a tiny bit longer than some others I've made, I could get this many around.. and I think I like it the best this way. For casual wear, anyway.

In any case, enjoy! These are by no means the only ways of wearing your new scarf, so experiment and enjoy!